Analysing
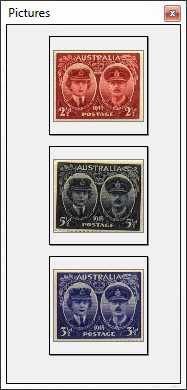
Immediately after reading the image the analysis process will start. During this process the stamps will be cut out from the scan, automatically straightened and placed onto the toolbar "Pictures".
In some cases the scanning and analysis process does not deliver the desired result for example because stamps are cut out incorrectly. You can restart the scanning by using other parameters in your scanner software. However, you can also only restart the analysis process with a different setting for "Background color".
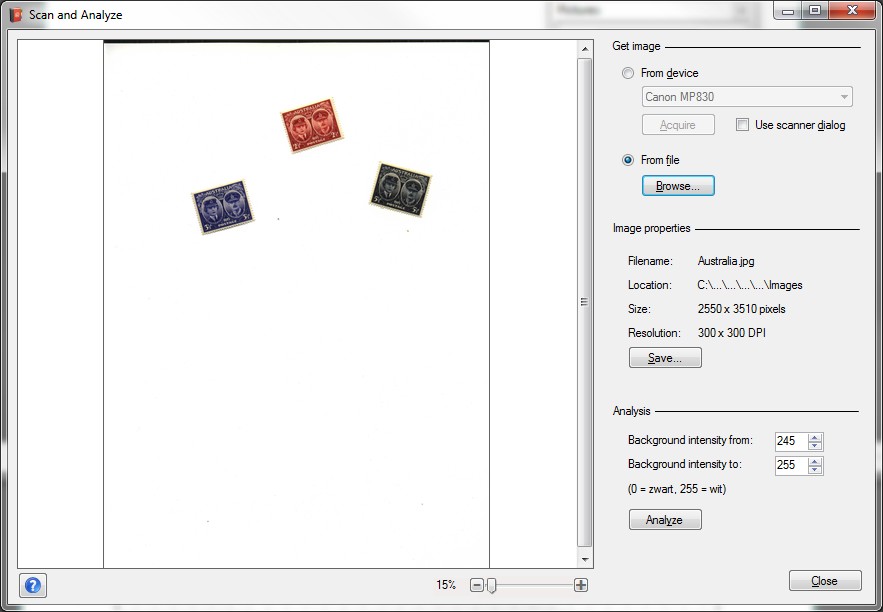
The setting "Background color" determines which color intensity range for the background color will be used. Pixels on the screen that have a color intensity that lies outside this range are supposed to belong to a stamp.
The intensities are grey values with a scale division from black (0) to white (255). Normally a scanner has a white background which means that the setting will have a value of approximately 250. However, if you have placed a piece of paper on top of the stamps to reach a higher contrast a different value must be used. The function "Scan and analyze" will determine this setting automatically by investigating the colors in the upper and bottom border of your scanner. Therefore you are advised to avoid placing stamps within 1 cm off the upper and bottom border. In case the setting has an incorrect value you can change it manually.
You can restart the analysis process with the Analyze button. The images on the toolbar "Pictures" that result from an earlier scan will be removed. This means that the toolbar contains only images that result from the last analysis process of the same scan.
As an example of the analysis process we open an image from disc. For the explanation of the workings of the analysis process it makes no difference whether the image originates from disc or scanner.
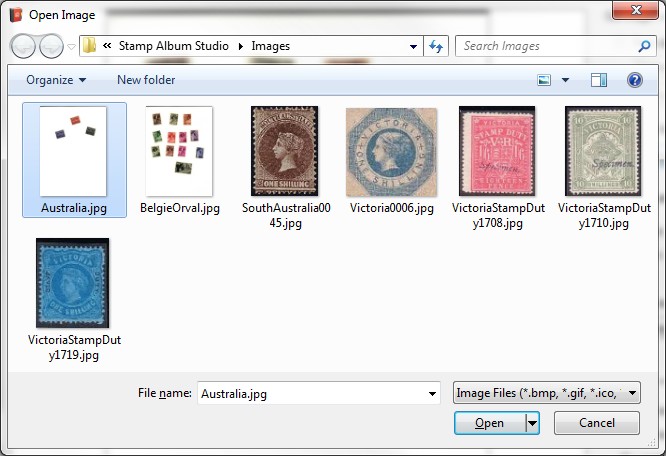
Click the Load button and select the image "Australia.jpg".
Next click on the Open button. The image will now be shown on the screen "Scan and analyze". Also the resolution of the scan, the size and the color intensity range of the background (245-255) is shown. Finally the analysis process is started and the stamps will be cut out and straightened. They are placed on the toolbar "Pictures":
In the online Help all possibilities of the function "Scan and analyze" will be described in detail.
Copyright © 2015, Arvades